Categories
Detailed explanation of the removal method of elevator steel belt
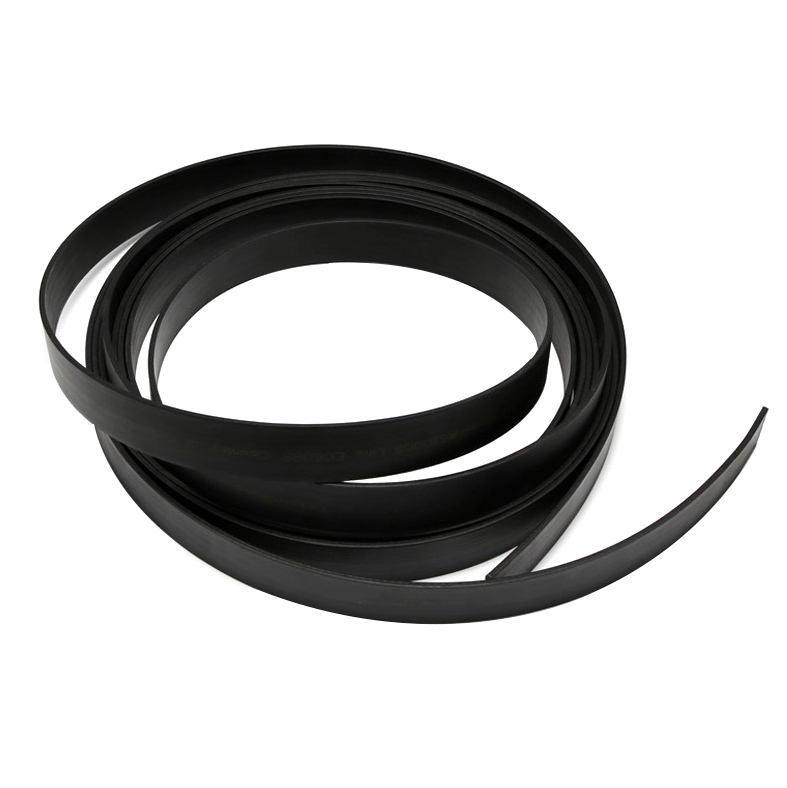
Otis elevator steel belt
Jan 26th,2024
1867 Views
STEP1: Preparation work before removing the elevator steel belt1. Turn off the elevator and power supply, and set up warning signs to ensure safety.2. Check whether the elevator steel belt is in a slack state and record the condition of each wheel set.3. Prepare necessary tools and materials, such as wrenches, spreaders, pliers, etc.STEP2: Steps to remove elevator steel belt1. Remove the upper bracket: Use a wrench to remove the upper bracket fixing nut, usually loosen it clockwise. Pay attention to firmly fixing the lower gear to prevent the elevator from tilting due to the movement of the center of gravity.2. Remove the lower bracket: Use a wrench to remove the lower bracket fixing nut, and also follow the clockwise tightening principle. After removing the bracket, use a spreader to secure the steel belt to prevent it from falling and causing injury.3. Remove the elevator steel belt: Use pliers or a wrench to remove the nuts at both ends of the elevator steel belt, and then remove the steel belt on the wheel set in sequence.STEP3: Things to note when removing elevator steel belts1. Before disassembly, make sure that the steel belt is in a relaxed state. Do not disassemble when the steel belt is tense or straight to avoid danger.2. Pay attention to maintaining balance when disassembling to prevent the elevator from tilting and accidents.3. When removing the lower bracket, make sure the bracket is completely removed, otherwise subsequent operations will be affected.4. Be careful when disassembling to prevent damage to steel belts, wheel sets or other elevator components.In short, the removal of elevator steel belt requires certain professional knowledge and operating skills. If you do not have relevant experience, please be sure to ask a professional to perform the operation.